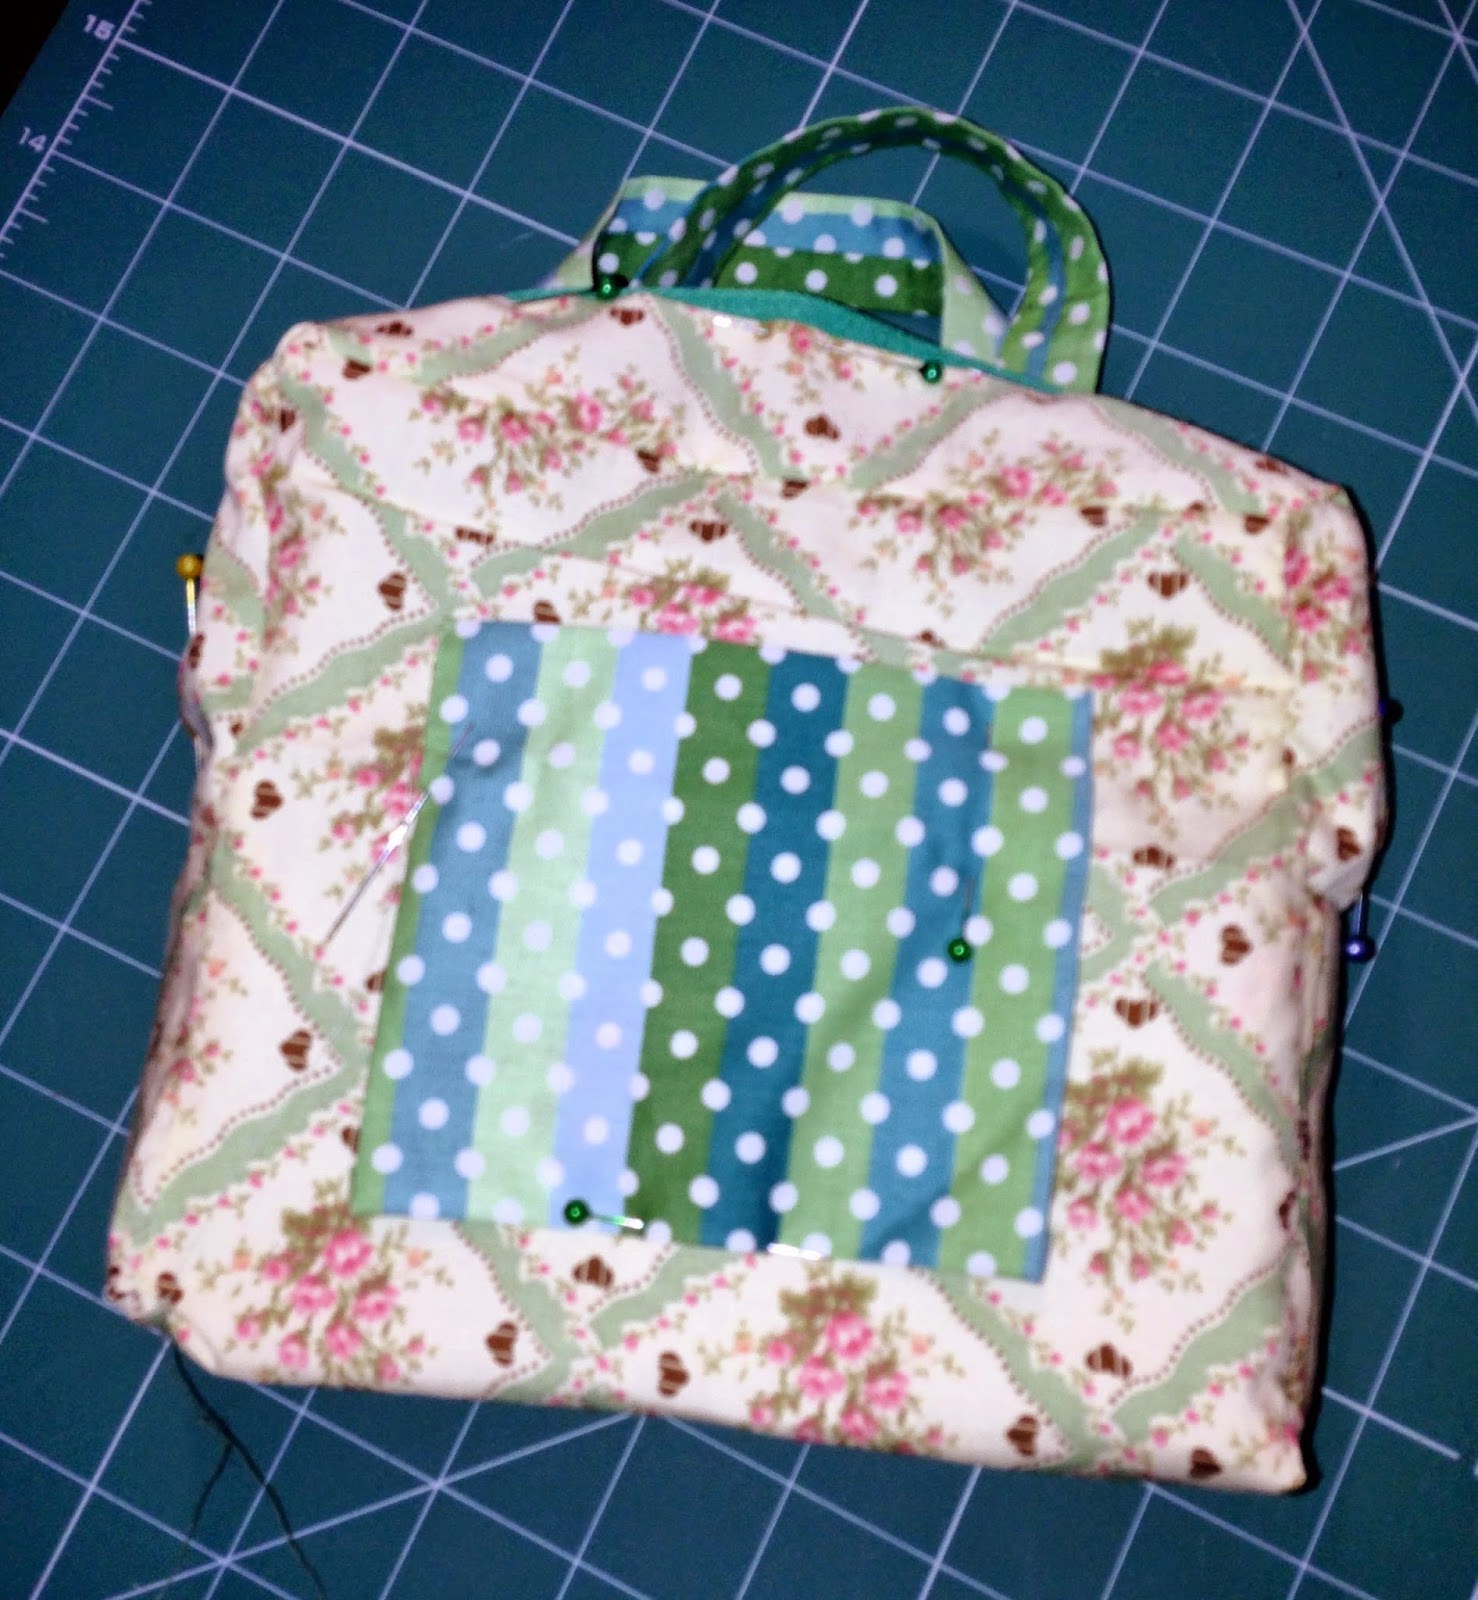
Anyhoo, I made myself / my daughter a cute box bag too.
I had to draw it out on a page and then wing it from there -
the sides were basically just a block with 2 pieces and then 2 long handles added. The handles need to be inserted before you sew the top and bottom together.
(ask me how I know this now??) LOL!
The other side looks exactly the same.
The plain green with a zip is (the size of the side + top + side + seam allowances on both sides.)
The patterned green strip is also the same measurement but without cutting it in two for the zip. Then I trimmed it to look neater and even.
I then sewed the middle strip onto the sides of the bag and matched it to the middle where the fabric change happens.
This was actually the only sewing I done with my machine on this little bag.
This is the lining of the bag that I had to work out on paper first.
After cutting up batting and hand sewing it into my bag - on the seams and extra onto the bottom, I hand stitched the lining into the bag.
I guess I done it this way so that I could sit/lie on the couch and do it and not work my angry back nerves up.....
I suppose you could sew up the lining into a little bag and then just insert it into the bag and then attach it by hand along the zip area.
I even made a little pocket onto the lining - 'cause every little bag needs one...

And there you have it - a little box bag.
It measures about 6".
I haven't decided if I want the handles to be stitched down yet... still deciding...
Not bad for no pattern...
Have a good Tuesday everyone...
Don't forget to visit my Pattern Shop while you're here on the blog too!


2 comments:
Great bag, and determination seems to work thru these complicated projects!
Very nice design. I'm impressed that you could figure it all out with only photos to go on. Congrats!
Post a Comment